
Assets

Questions answered in this article:
Add an Asset
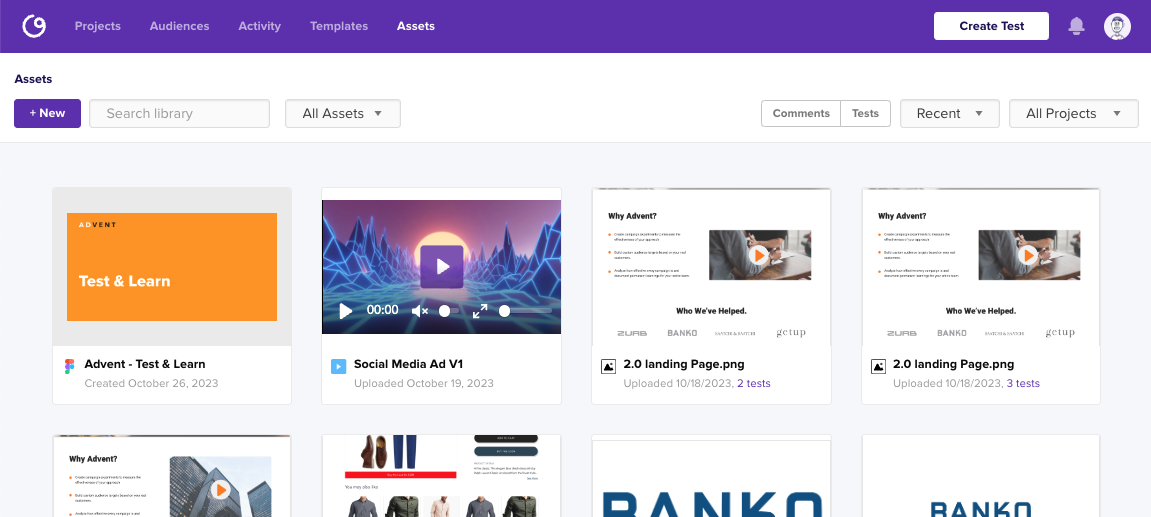
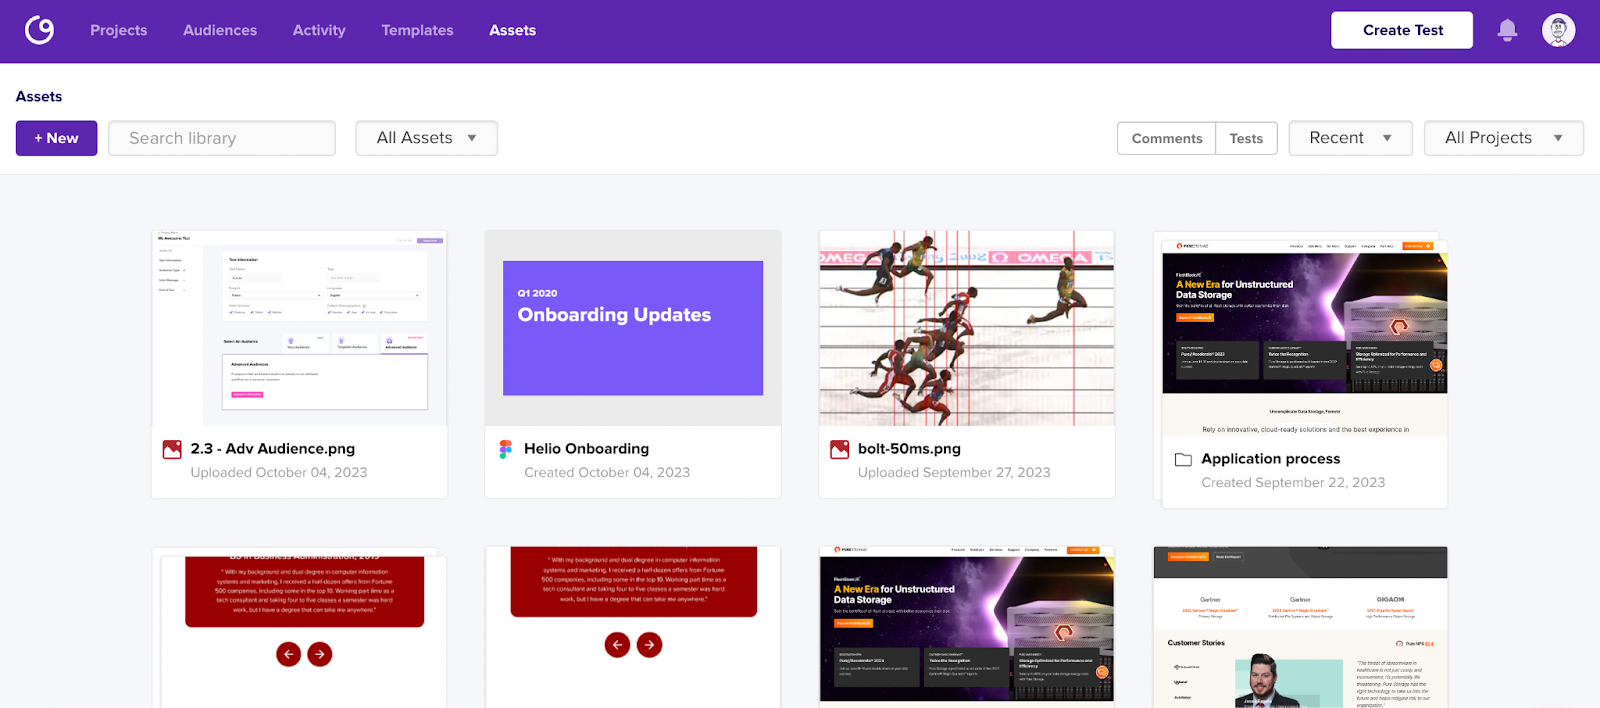
From the Assets page in your account, you can add an asset by clicking ‘+ New’ in the top left corner, or by using the ‘Add an Asset’ button in the middle of the page.

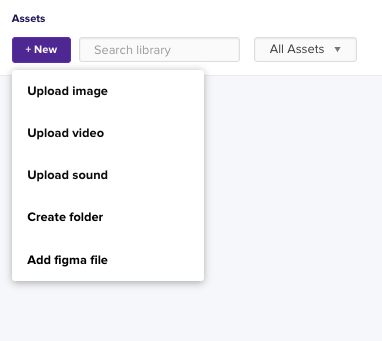
From the ‘+ New’ action, you can add a new image, audio file, video file, folder, or Figma file to your account.
You can also add an asset while creating a test. The Start Your Test module provides an option to upload an asset or attach a Figma file.

Once you’ve added assets to your account, you can take action on each asset in several different ways.
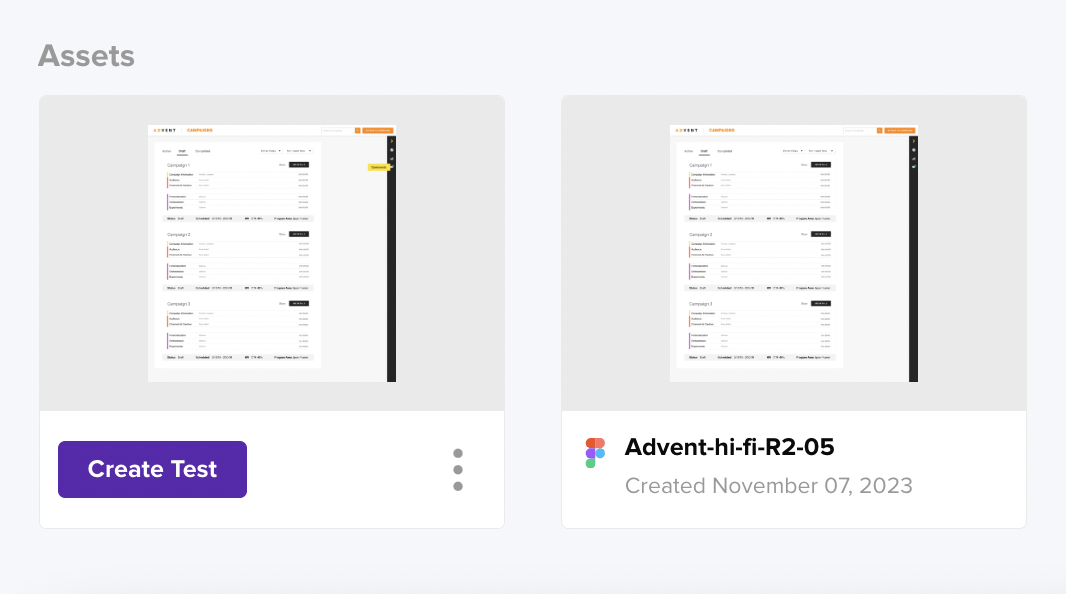
Click on an image in the asset card to open a larger view of the asset on the page.

Hover over a card on the asset page to reveal the create test action and a dropdown menu.
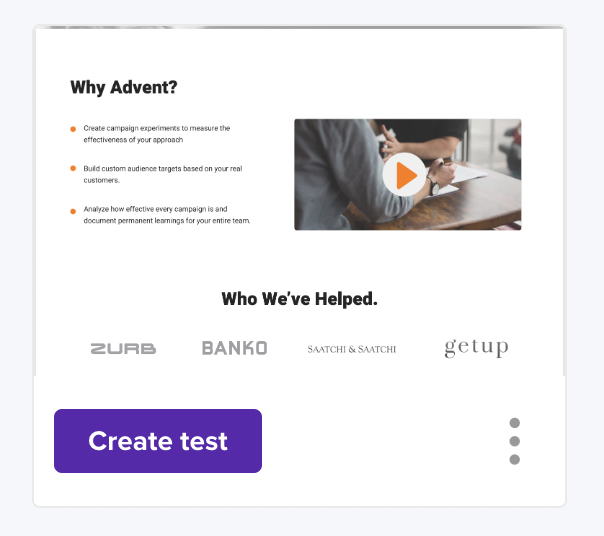
From the dropdown menu, you can share the asset, rename the asset, or add it to a folder.

Integrate with Figma
To link a Figma file to your Helio account, you must first authorize Figma. You can go to the Assets page on your account and navigate to the Figma page, or select the Figma option while creating a test. Both directions will present you with this action before moving forward:
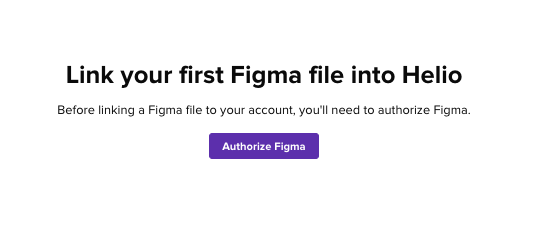
When you click Authorize Figma, a new tab will open asking you to sign into your Figma account. Once you are signed in, click the Allow access button.

Once Figma access is authorized, the new tab will close and the Helio page will reload to provide a link entry box.
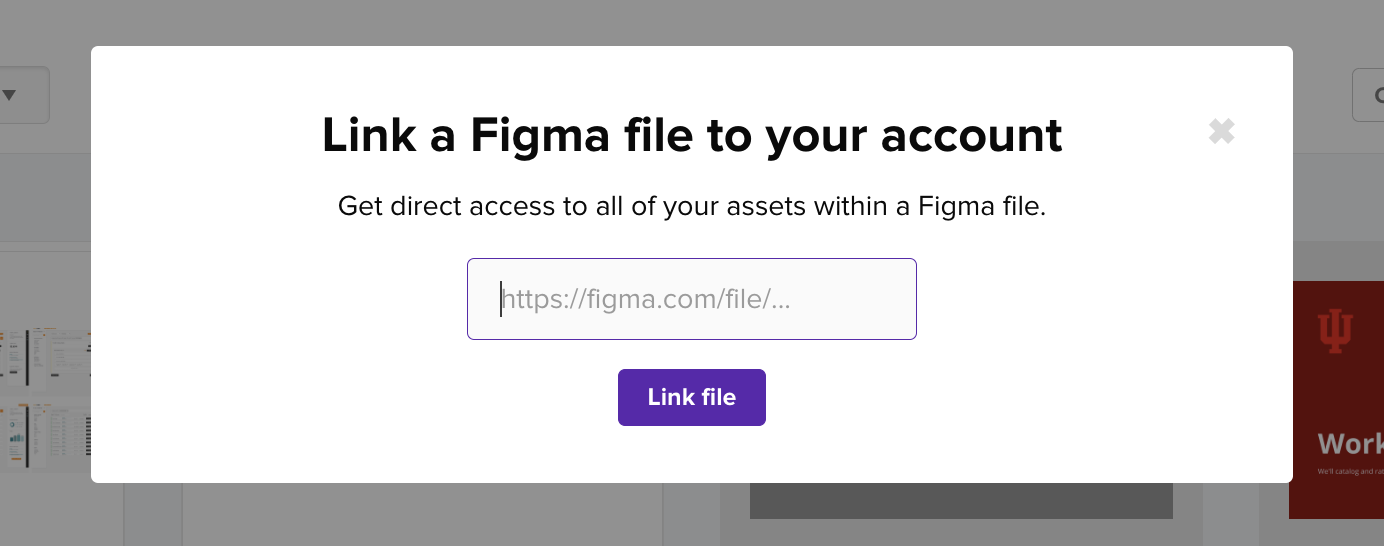
Copy and paste the URL or the share link for your Figma file into the entry box. Once you press ‘Link file’, your Figma file will start syncing to your Helio account.
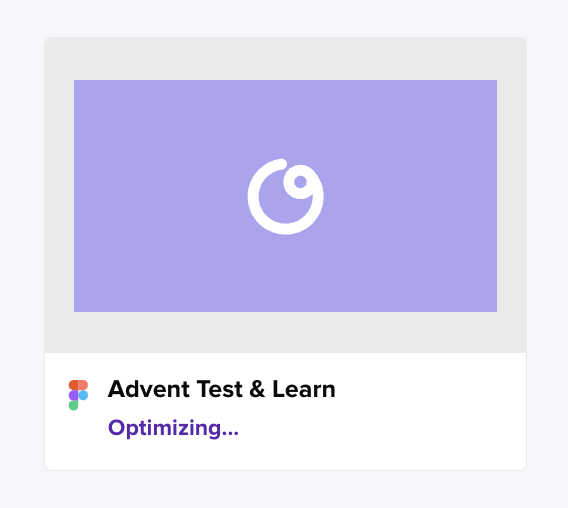
Once the linked file has reached the Optimizing stage, you can enter the file and browse through your assets within. Navigating to a specific page within the Figma file will more quickly load the assets within that page.
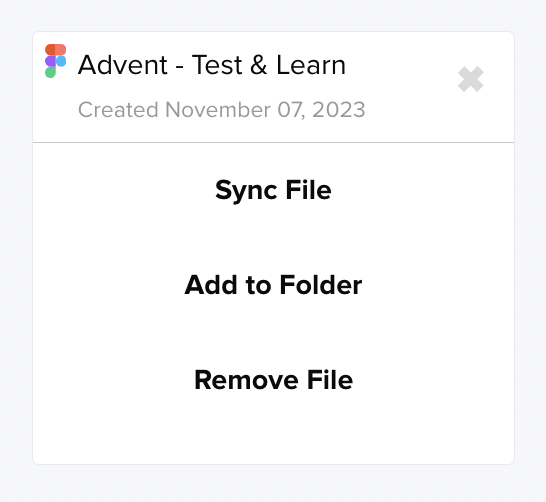
Once a file is synced, you can reload the file with any changes that have been made to your assets using ‘Sync File’ action.
Once your Figma file has been linked, enter the Figma file to find the asset you’d like to test with. Just like the file structure in Figma, the pages of your Figma file will be ordered in the left-hand sidebar, and the individual assets can be found as cards to the right. Prototypes and static image Assets will be separated on each page for easy access.
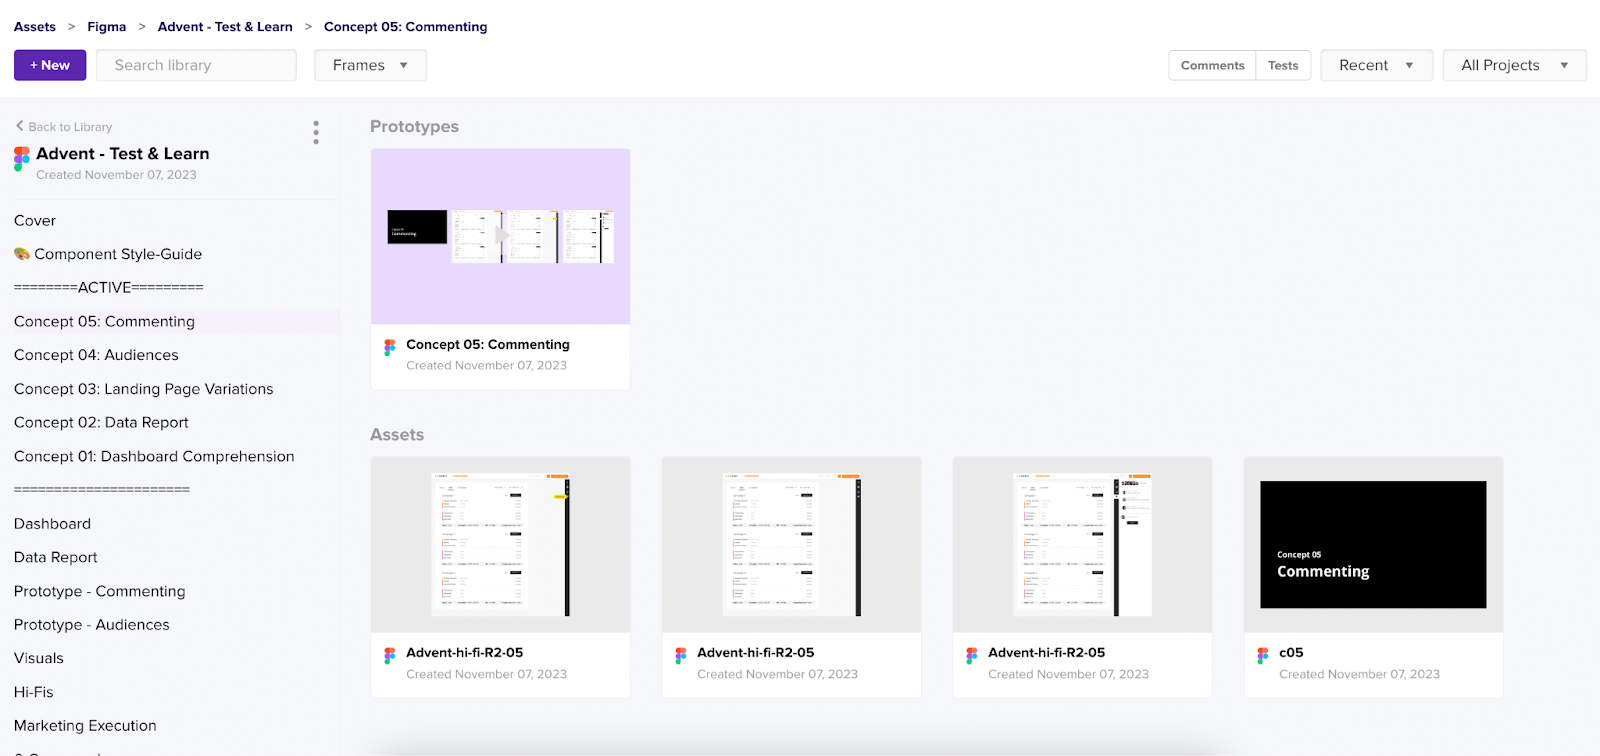
Hover on an asset card to reveal the Create Test action, which will take you directly to the test creation page and drop that asset into a question selector menu.
Organize Your Assets
Once you have assets added to your account, you can sort through them using the filters at the top of the page. Use the search bar to look for specific asset names.
The All Assets dropdown next to the search bar can be used to filter between your Folders, Images, Audio, Video, and Figma Files.

Click on the ‘Tests’ filter in the top right corner to see all of the assets that have been used in a test or survey on your account.
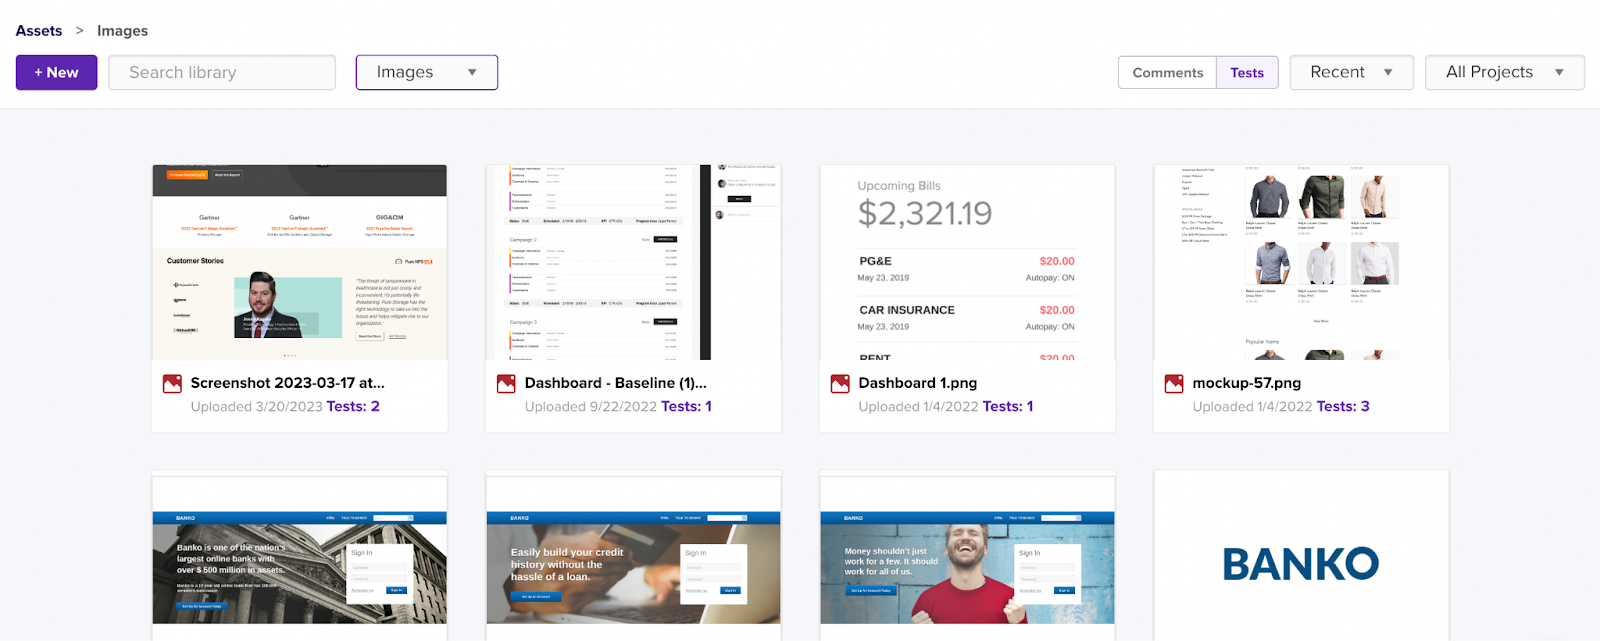
Click on the ‘Comments’ filter to see all of the assets that have received comments by your team.
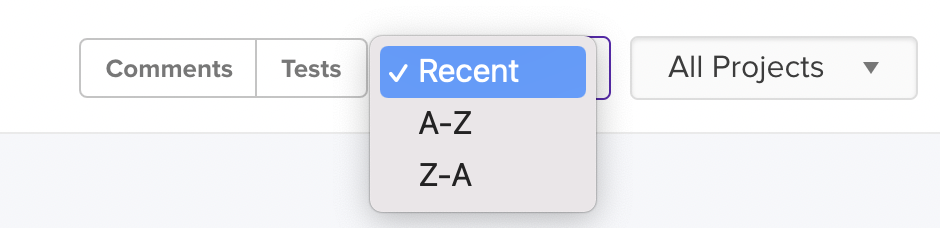
Sort the page by recent assets, or by alphabetical order.
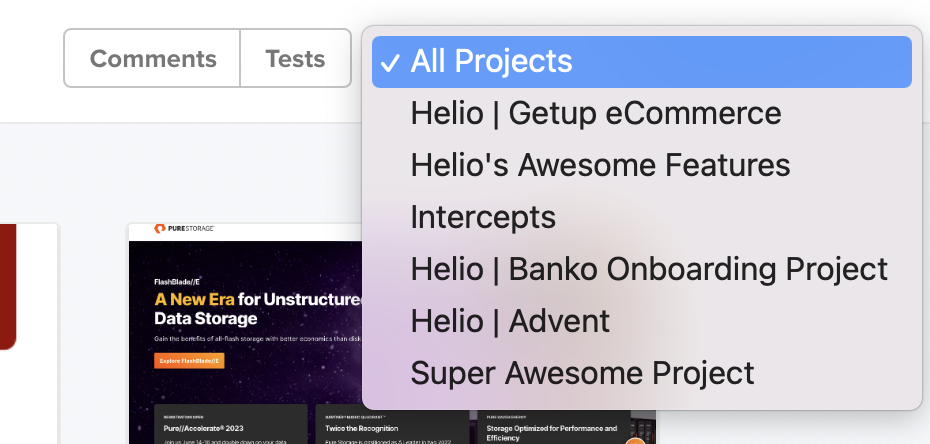
The All Projects dropdown in the top right of the Assets page lets you filter assets by the projects that they are attached to.
To create a new folder, use the ‘+ New’ action in the top right corner of the page, or select Folders from the All Assets dropdown and Create your first folder on that page.

Once your folders are created, you can add assets to them by clicking into the folder and using the ‘Add Asset’ action, or selecting ‘Add to Folder’ on each individual asset.

Build tests with Assets
From any asset on the Assets page, you can start building a test. Press ‘Create Test’ from the dropdown menu on any asset card, and you will be taken to the test creation page.

When you enter the test creation page, the asset will be placed into a question selection menu.
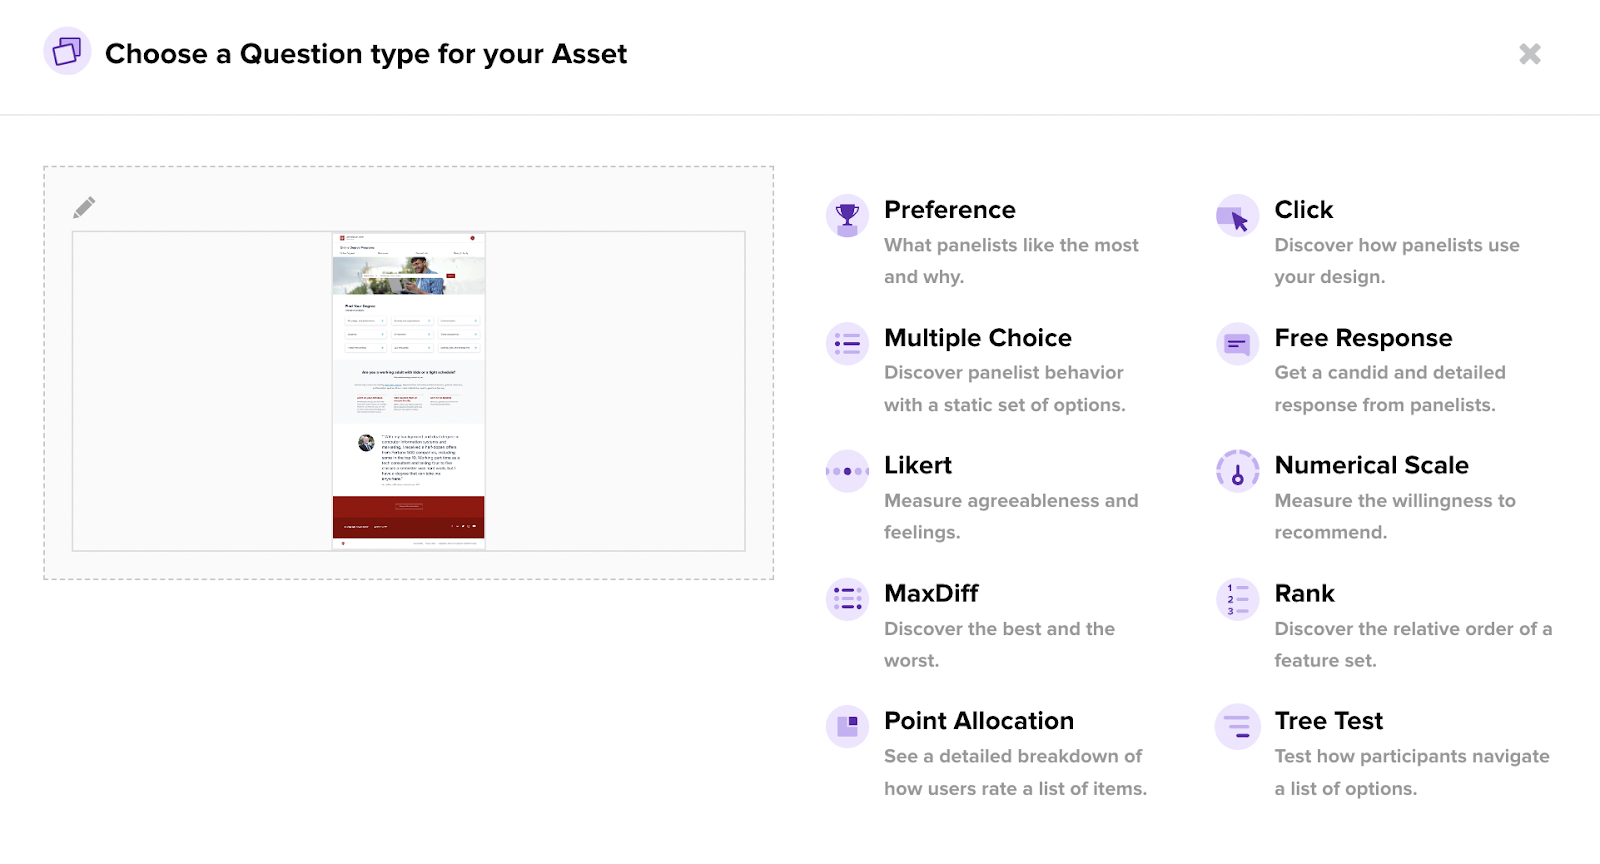
You can also select assets to build a test from the test creation page. When you create a new test, select Asset from the Create Your Test module.
See Data Attached to Assets
The Tests label on each asset card tells you how many tests they have been used in.

Open the dropdown menu on the asset card, and click on the test count to see a list of each test the asset is attached to.
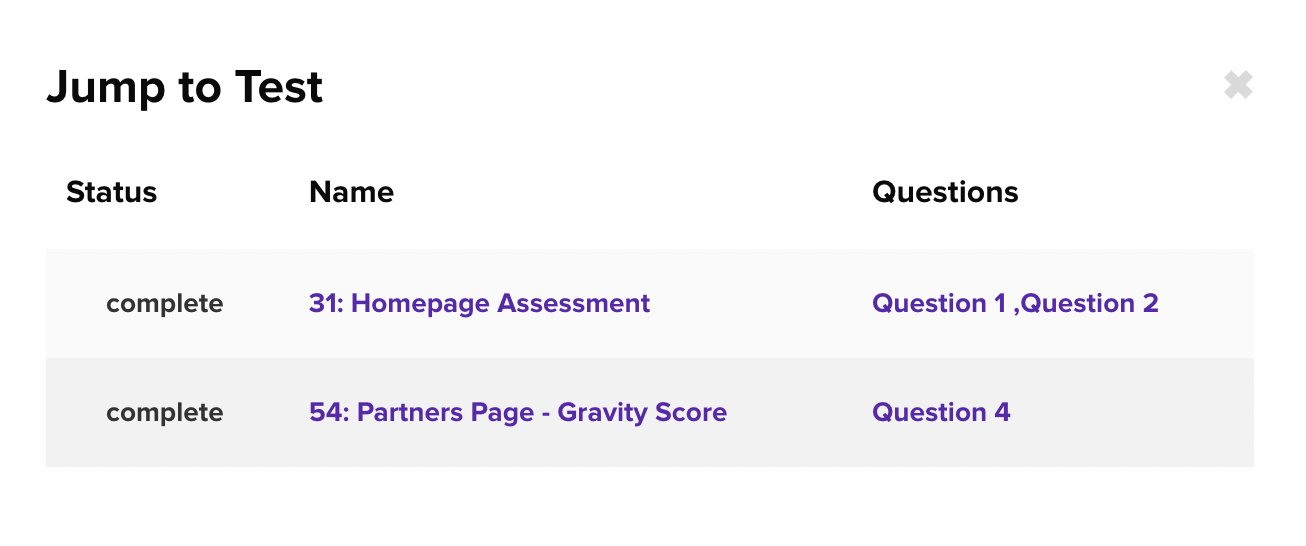
Select a test to be taken to the data report of that test, or the draft survey if it hasn’t collected responses yet.