
Intercepts
Questions answered in this article:
Create a Brand Style
Customize the company branding for your surveys, including the background colors, CTA colors, and logos. Brand styles are used to customize the look of your tests, landing pages, emails and Intercepts. These brands will be updated across the entire experience!
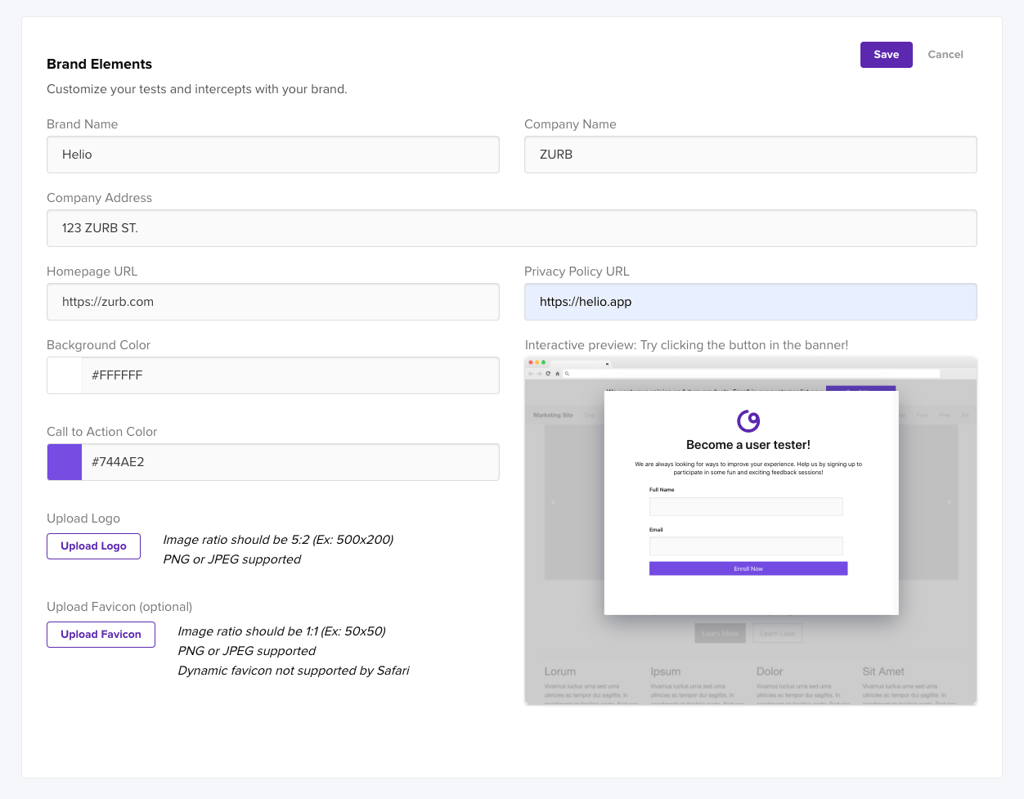
Start by filling out the Brand Name for your new brand style. Use something descriptive, as you will be picking this name from a dropdown of options when connecting this brand style to intercepts.
Fill out your company information, including company name, street address, your homepage URL, and privacy policy URL. These pieces of information are necessary for certain survey uses and are required to save your new brand style.
The Background Color selector is used to change the background color of the Intercept CTA on your website and the survey that participants are presented with in the intercept.
The Call to Action Color selector is used to change the color of your Intercept CTA and the actions in the Intercept survey.
-
Use the preview box to the right to see an example of how your brand colors will be used.
Upload a PNG or JPEG Logo that will be used above your Intercept CTA on your platform.
Upload a PNG or JPEG Favicon, which will be the small web icon used next to the URL of your Intercept survey.
Save your new style so that you can select this brand style while you are creating an Intercept.
Create an Intercept
Select your brand style
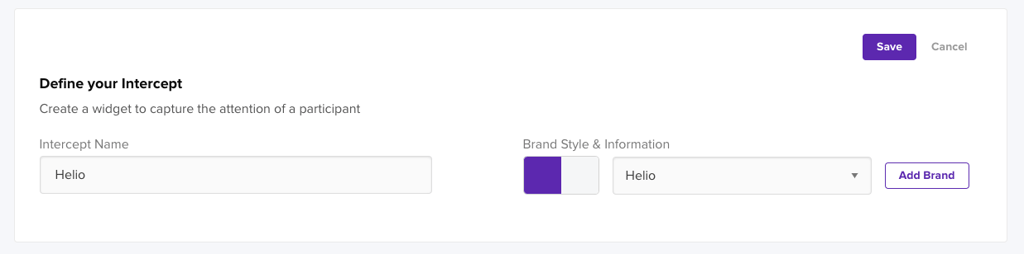
Give your intercept a name, which will only be seen in the list of all your intercepts and when selecting your intercepts within the test creation page.
After naming your Intercept, use the dropdown selector on the right to choose a brand style for your Intercept. If you have not created a brand style, Helio’s brand style will be defaulted for you. To create a brand style, click the “Add Brand” action on the right.
Choose your Intercept Type
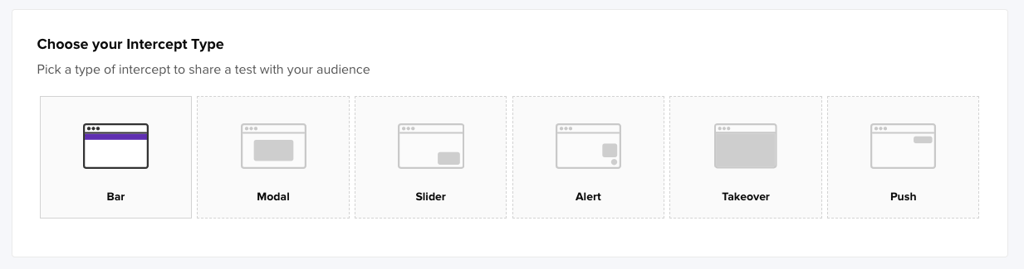
Select the intercept format that best fits your current experience. Each format can be targeted towards specific participants.
Engage your Participants
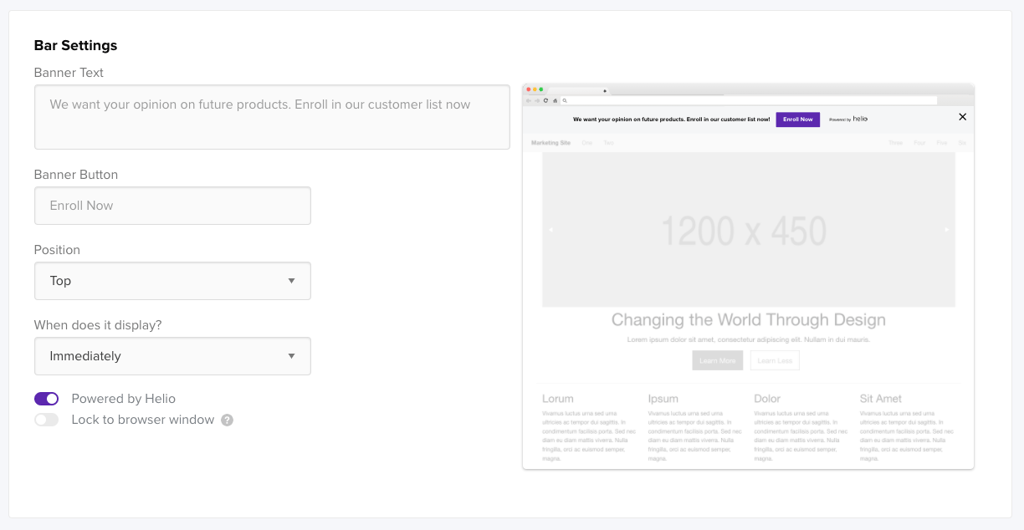
Write a custom message and call-to-action to attract participants to give their feedback. Decide how the Intercept CTA will be displayed and at what time.
Each intercept type allows you to add a custom message with up to 500 characters, and a custom CTA label with up to 25 characters. Decide whether to make your partnership with Helio public to your users with the Powered by Helio toggle.
Target your Audience
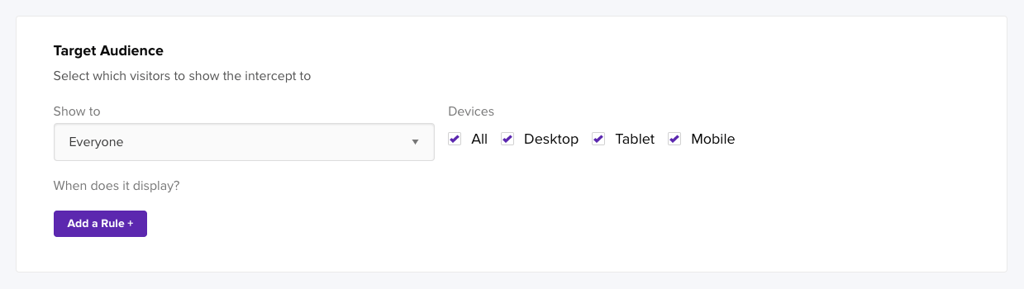
Show your Intercept to everyone, or choose between every 3rd, 10th, or 20th visitor. Limiting who you show your intercept to can help manage your feedback and the rate of responses you get from your visitors. This can also help randomize your results if you have consistent visitors to your platform each day.
Target specific device types, including desktop, tablet, and mobile devices. This is useful for segmenting your feedback, or looking into how your visitors are reacting to the experience in a specific context.
Add a Rule to get even more specific!
Add a Rule

Use everything from date & time to URL queries to target the right participants. You can add up to 20 rules to target the visitors that are right for you!
Choose an Intercept
Each intercept type allows you to add a custom message with up to 500 characters, and a custom CTA label with up to 50 characters. Decide whether to make your partnership with Helio public to your users with the Powered by Helio toggle.
You can also control the time your intercept is delivered on each intercept type using the “When does it display?” dropdown. Choose between immediately, after 3 seconds, 5 seconds, 10 seconds, 20 seconds, or on page exit.
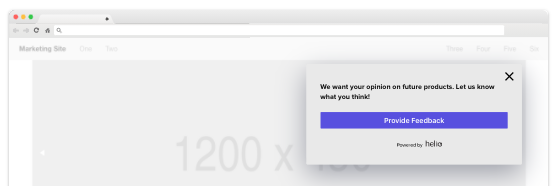
Bar
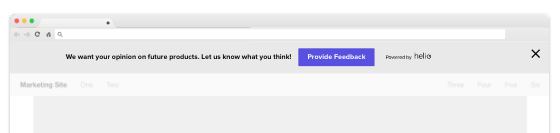
Bar intercepts are great as a persistent action on a page or as the first notification visitors see when they land on your platform. Bars are often used as notifications on a homepage or landing page that catch visitors attention early on.
You can set your bar to remain stuck to the top of your website page as participants scroll down. Choose from two different positions for your bar: top or bottom of the page.
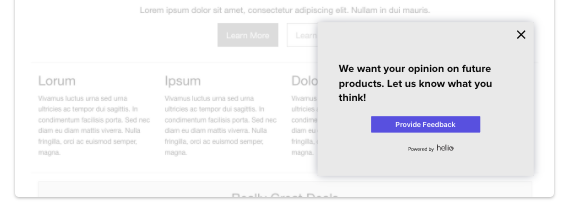
Modal
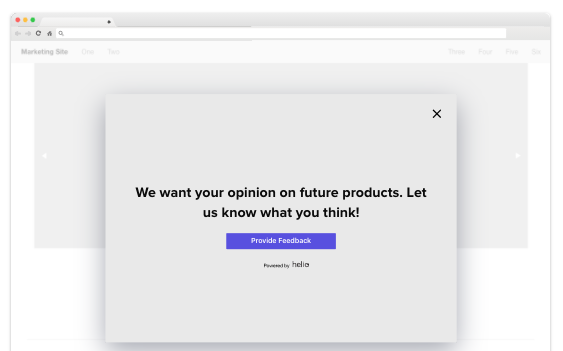
Modal intercepts work well to quickly catch visitors attention by placing your intercept right in front of them. Modals work great as a follow-up to events or actions, while the experience is still fresh in the visitors mind but they haven’t decided where to go next.
You can decide how the modal functions by choosing whether participants will close it with the ‘x’, or simply by clicking outside of the modal.
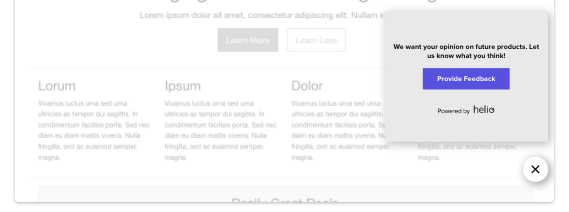
Slider
Slider intercepts slide out at the bottom of a visitors screen, and are a non-invasive way of catching someone’s interest. Sliders can be used to coincide with a specific action, or as a quick as after someone has spent some time on a page.
Choose between bottom right, bottom left, and bottom center for your slider location.
Alert
Alerts can be used to grab a visitors attention after they have spent time on a page. Once you know someone has absorbed the content of a page, use the delivery time settings to decide when your intercept should appear.
Choose between a bottom left or bottom right location for your alert.
Takeover

Like modals, takeovers are great for focusing a users entire attention on your intercept. Use them after a participant has completed an experience to ensure that you don’t disrupt the flow that you need feedback on.
Push
Push intercepts are another non-invasive way of getting your visitors’ attention. They work great throughout a website experience and can be used effectively when paired with certain actions.
Choose between top right, top left, or top center for your push intercept location.
Use an Intercept
Start by creating a test and going to the audience selection card:
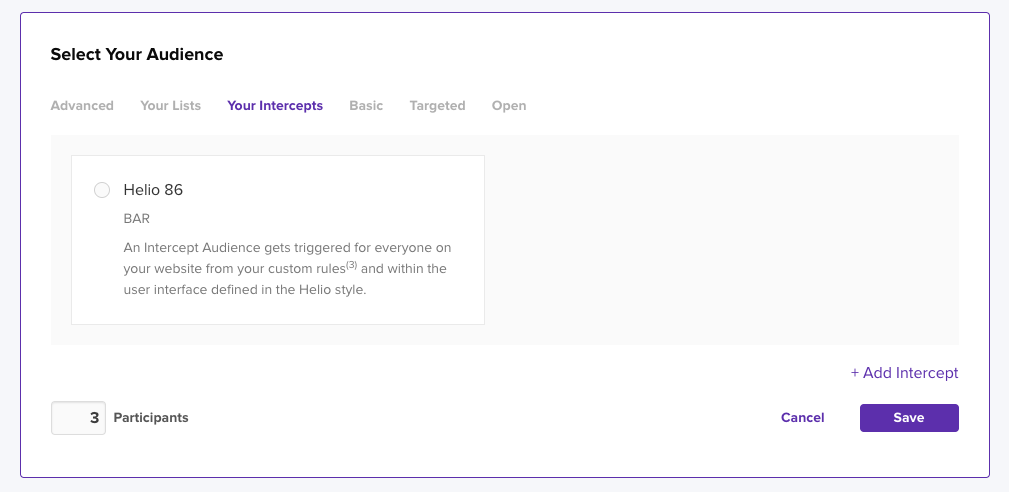
Choose from one of your Intercepts and save the audience.
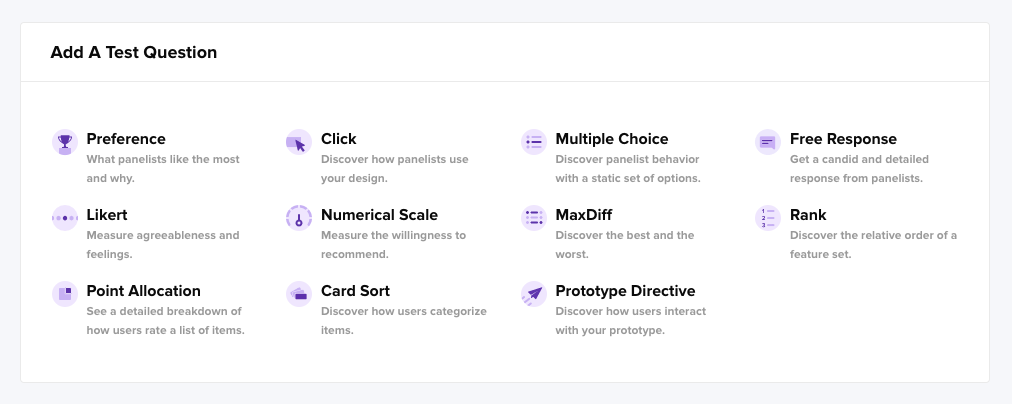
Once you have selected your Intercept, set-up your test using up to 11 different question types.
With at least one full question in your test, you can use the Preview action to see what your Intercept will look like to your participants!
Target your Intercept Audience
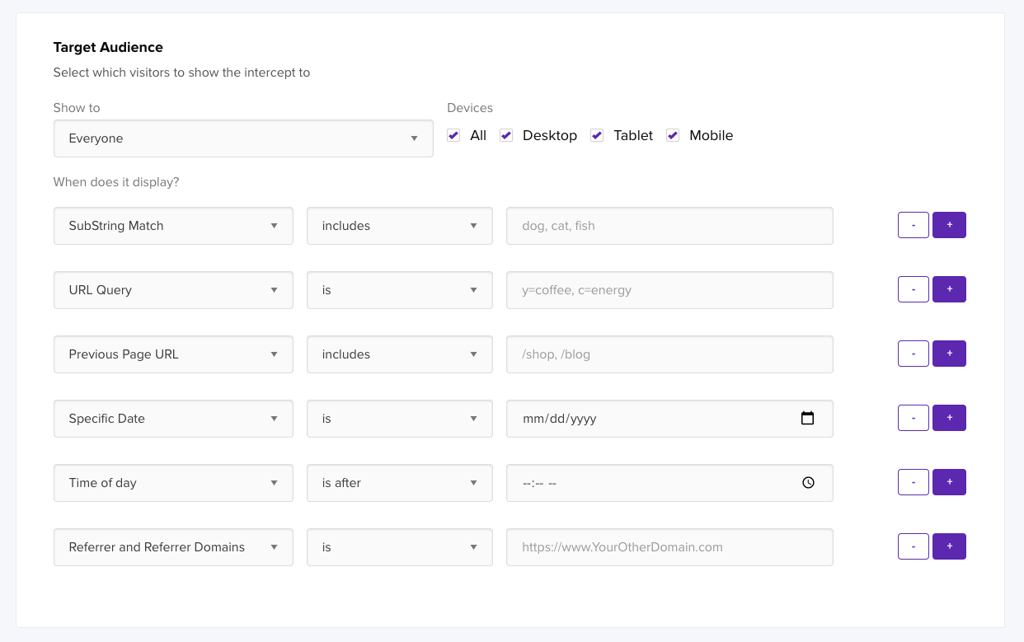
SubString Match tracks the URL substring after the base URL on your platform and shows (or does not show) your intercept to visitors who match that URL. Set this rule to “includes” or “does not include” and enter the URL substring you’d like to match.
URL Query allows you decide when your intercept is (or is not) shown based on a search made by your visitors. Enter the terms that make most sense for you to target, and your intercept will show up when those terms are searched.
Previous Page URL will only allow your intercept CTA to be shown to visitors who do (or do not) come from a specific place on the web. Set this rule to “includes” or “does not include”, and then enter the URL of choice.
Specific Date provides you a calendar where you can set a date to show (or not show) your intercept on. Set this rule to “is” or “is not”, and use the calendar selector to choose the current day or any day in the future.
Time of Day allows you to show (or not show) your intercepts to visitors depending on when they come to your platform. Set this rule to “is before” or “is after”, and use the time selector on the right to choose the hour and minute.
Referrer and Referrer Domains tracks the URL domain that a visitor has been sent from to your site and shows you intercept to those who do (or do not) match. Set this rule to “is” or “is not” and enter the domain URL you’d like to match.