


Projects
Questions answered in this article:
Project View
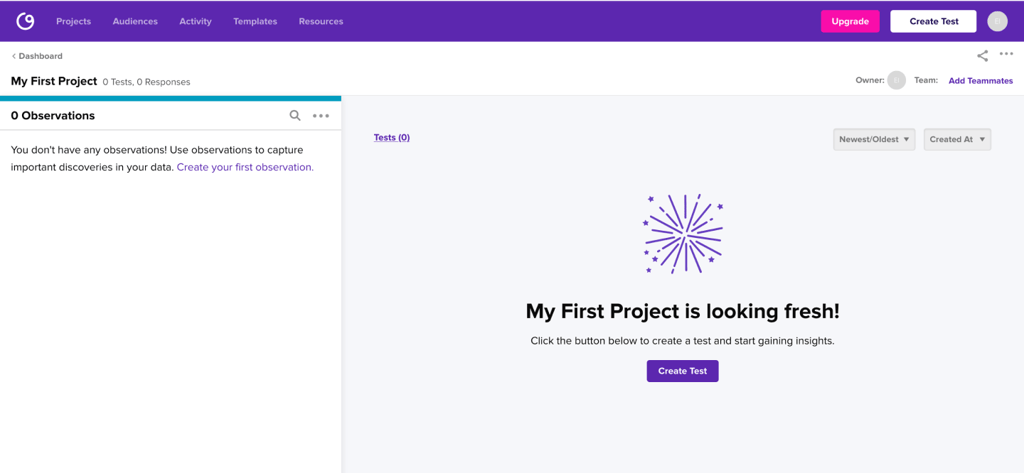
The Project View primarily shows you the list of tests that you have created in this project and any observations you have made about the data in those tests. You can also share the project, edit its name, and give access to teammates.
Edit Project Information
To change the name of a project or edit tags on a project, click the 3-dot dropdown in the top right corner of the project view. You can also delete the project using this same dropdown menu.

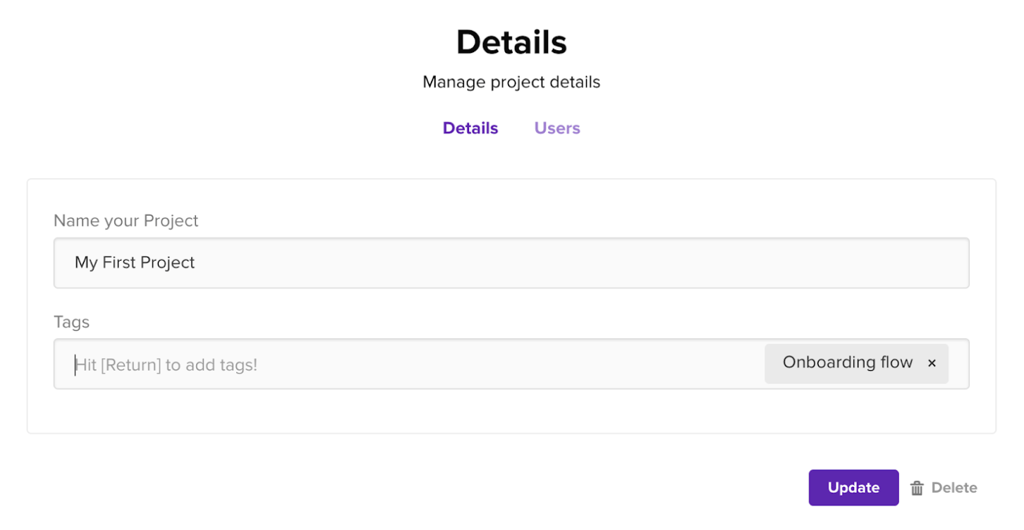
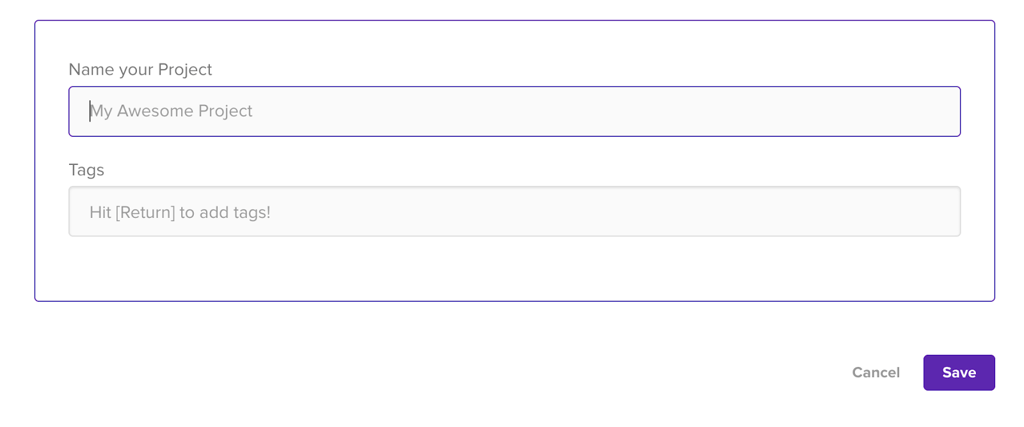
Pressing Edit Project will take you to a screen where you can manage the project details. Edit the name, enter tags to help you filter for the project in the future, or delete the project altogether.
Click over to the Users tab to edit who has access to your project.
Edit Project Access
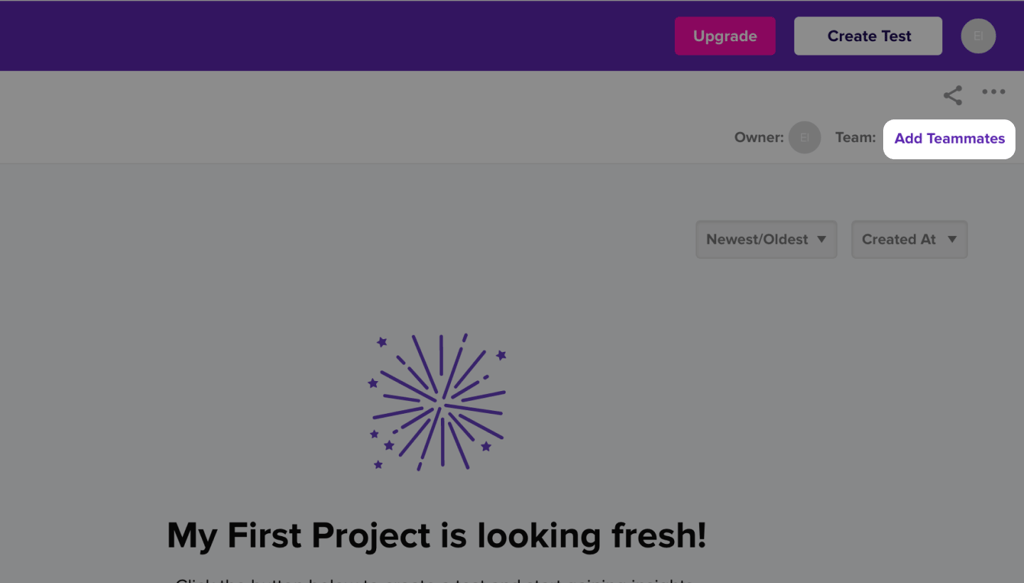
Click Add Teammates to change who has access to your project, or select Edit Project from the 3-dot dropdown.
The Users tab on the project management page allows you to add/remove team members to the project, and invite new users to the platform.
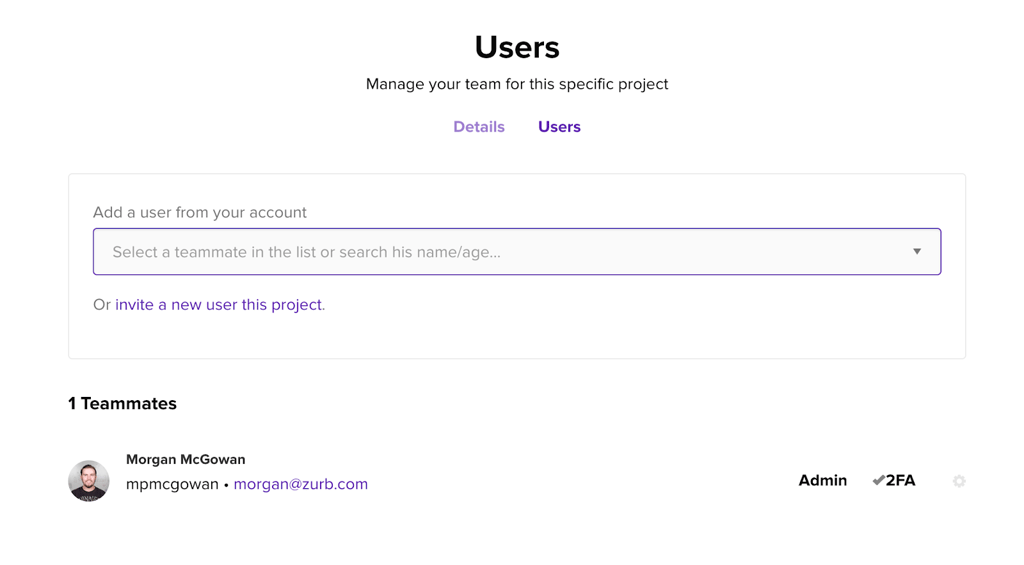
If you would like to share a Helio project with a team member without giving them editing access, you can use the share link found on the Project View.
Share a Project
Use the share icon in the top-right corner of the Project View to give someone view access to all the tests and observations in the project.
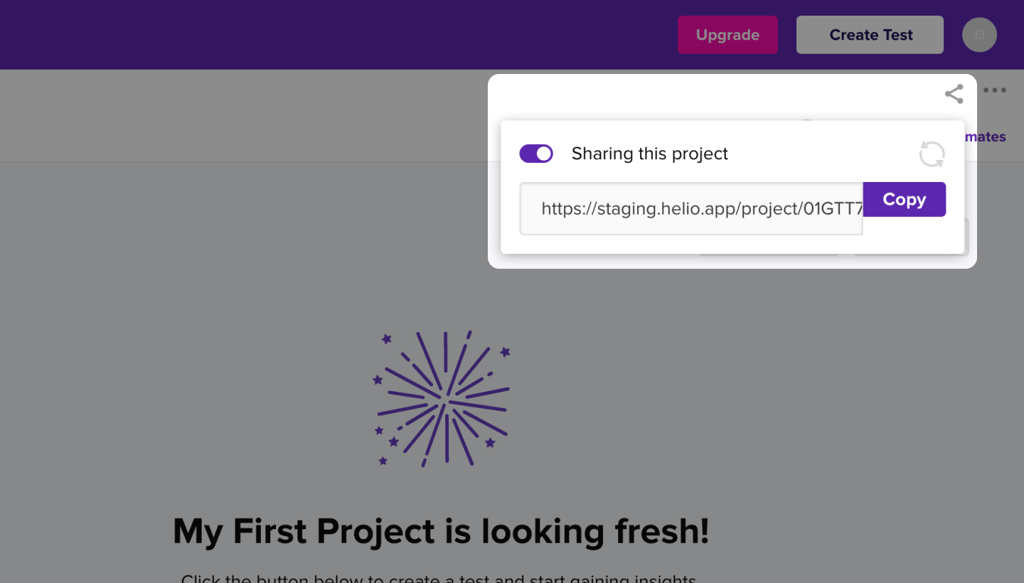
People with the share link can see the project view and enter into tests in the project, though they can’t move to other parts of your account or edit any content in your project.
Create Observations
You can also create an observation in the Project View by clicking the ‘+ Observation’ link in the bottom-left corner of the page.
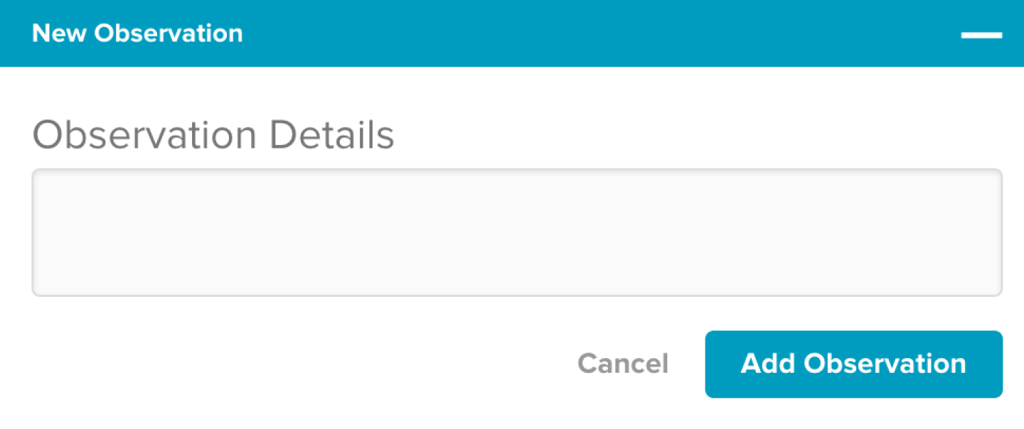
To learn more about this feature, check out our other Help Center article on using Observations in Helio.
Create New Projects
From your dashboard, you can create new projects and search through projects, tests, and individual observations.
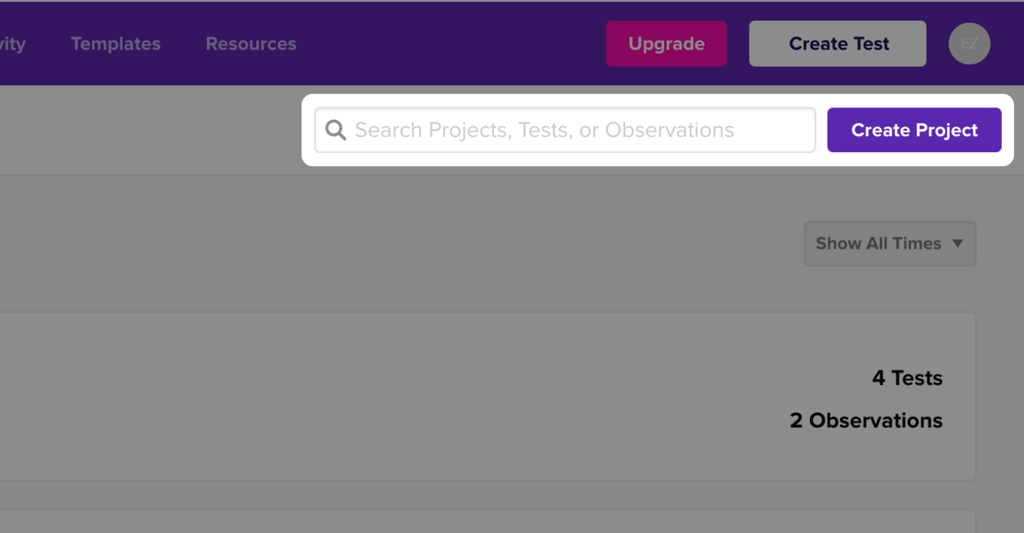
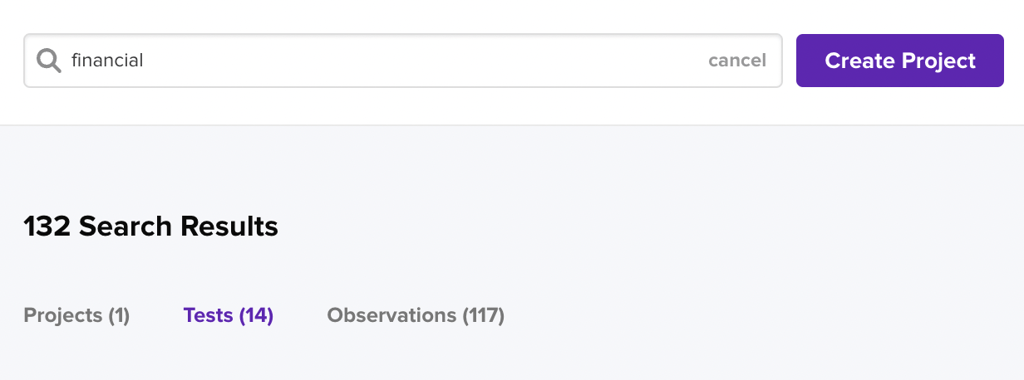
Select Create Project to produce a creation screen where you can input the name and any tags associated with the project.
Type a keyword into the search bar to find a specific project, test, or observation in your account.
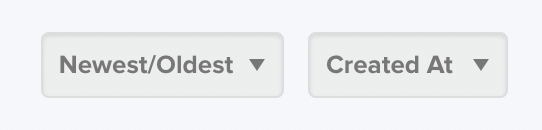
You can also use the filters on your dashboard to find specific surveys. The dropdown menu on the left allows you to filter by creator, and the dropdown on the right lets you filter by creation date.
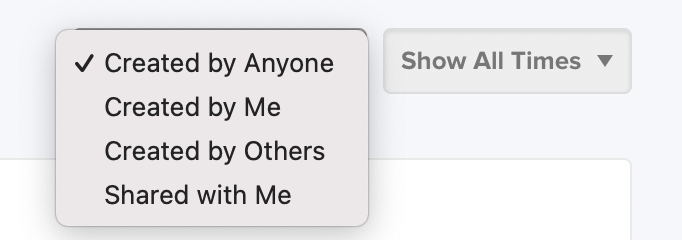
The dropdown menu on the left allows you to filter by creator, and the dropdown on the right lets you filter by creation date.
Manage Tests
Once tests have been created, they will appear in the right side column of the project view.
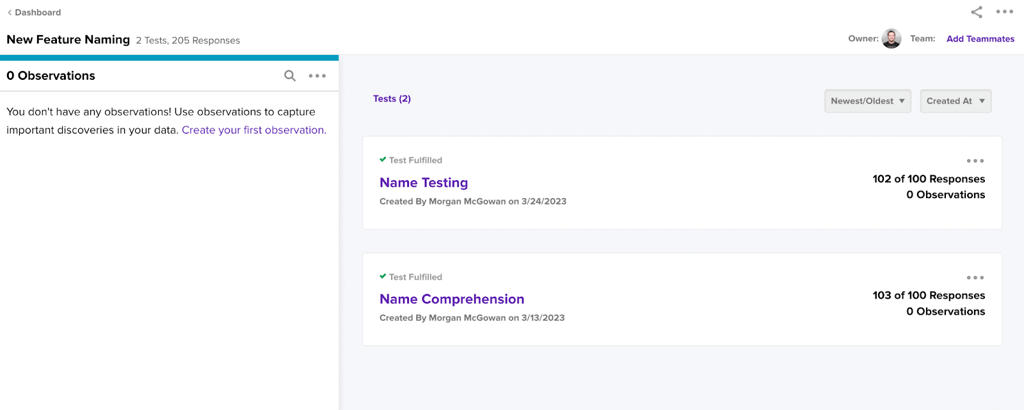
You can sort your surveys by using the recency and name dropdowns in the top right corner of the Project View.
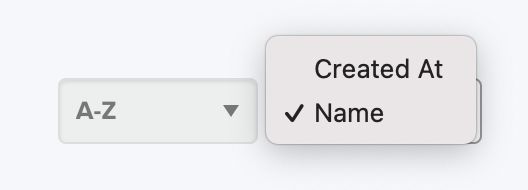
The dropdown on the left changes the order of the tests, while the dropdown on the right switches between sort by date and sort by name.
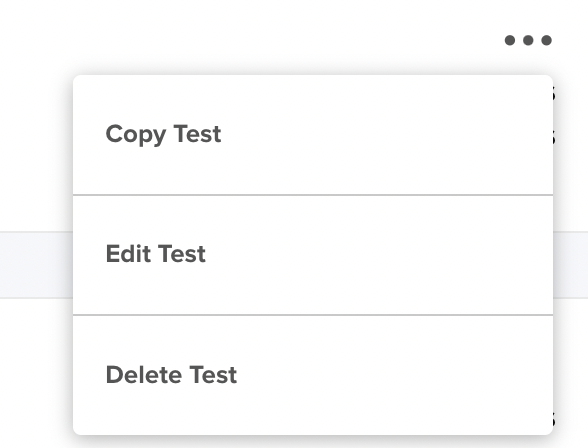
You can also copy, delete, and go into editing tests from the Project View using the 3-dot dropdown on each test card.

If you want to create a new project, you can do so on your account dashboard, which can be accessed using the link in the top-left corner of your Project View.