
Lists

Questions answered in this article:
Lists work great if you need an organized group of participants that you can track over time.
With an Enterprise account, you can set up your own participant lists in Helio, send them surveys with customized emails & branding, and use our Screener feature to recruit new participants with a live embed on your platform.
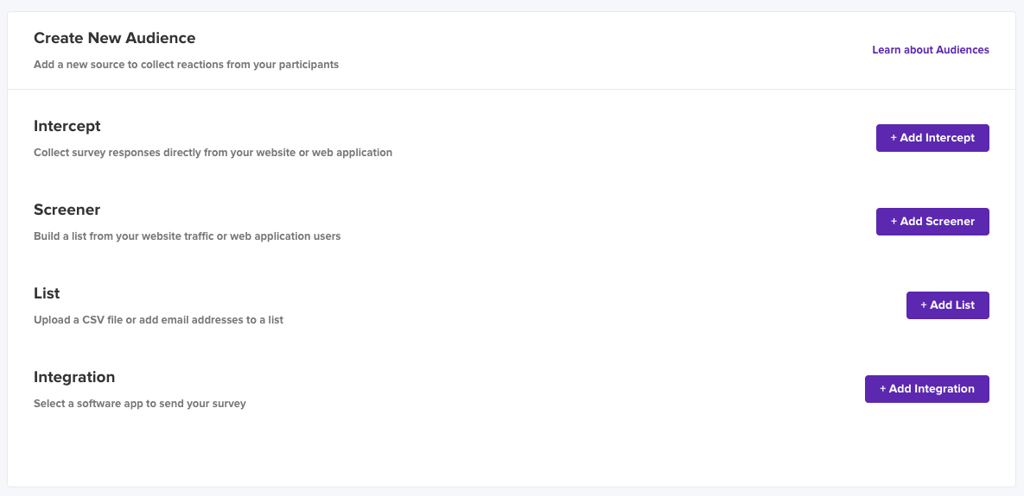
On the Audience page in your account, navigate to the Your Participants tab to and click the “Add List” button.
You will be brought to the List creation page. Start by naming your list in the top left corner.

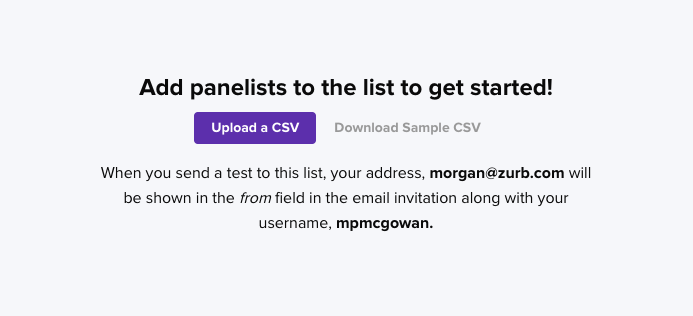
Once your list is named, there are two ways to add participants into your list:
Upload a CSV
Click the “Upload a CSV” button in the middle of the page to drag & drop a file into the pop-up modal, or browse your computer for the CSV you need.
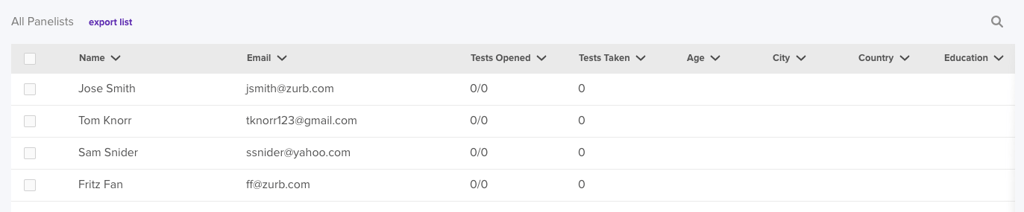
Once you have uploaded your CSV, the different columns in the file will appear in your Helio List. Each participant will show their contact information, the number of tests they have opened and completed, and any additional segmenting information you have added to your CSV, such as demographics or behavioral attributes.
Add Individual Participants
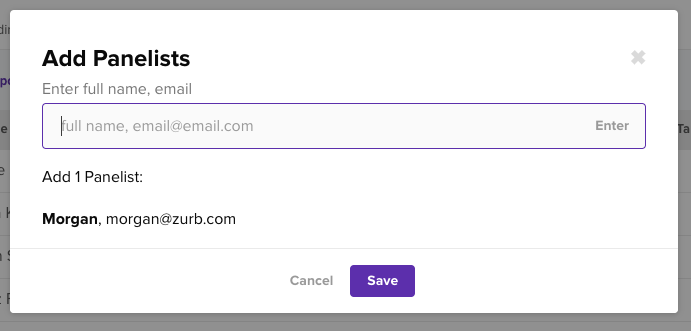
To add participants individually, select the dropdown in the top right corner of the page and choose “Add Panelists”.
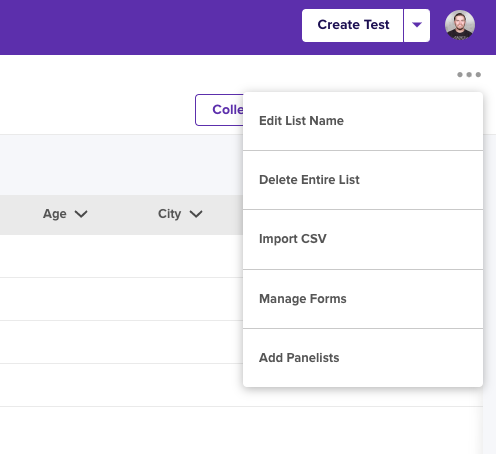
In the modal that appears, enter the name of your participant followed by a single comma, a space, and then the participant’s email. After this information is filled in, select “Enter” and your new participant will be added to your list. You can continue adding participants in this modal until you have all the participants you need, and then click “Save” to complete the process.
List creation page. Start by naming your list in the top left corner.
Build a List with Screeners
If you do not have a participant group prepared, Helio can also be used to recruit panelists using Screeners. Screeners can be used to collect a list of your own customers to test with using Helio. Use a landing page hosted by Helio or embed a banner on your site to start building an audience.
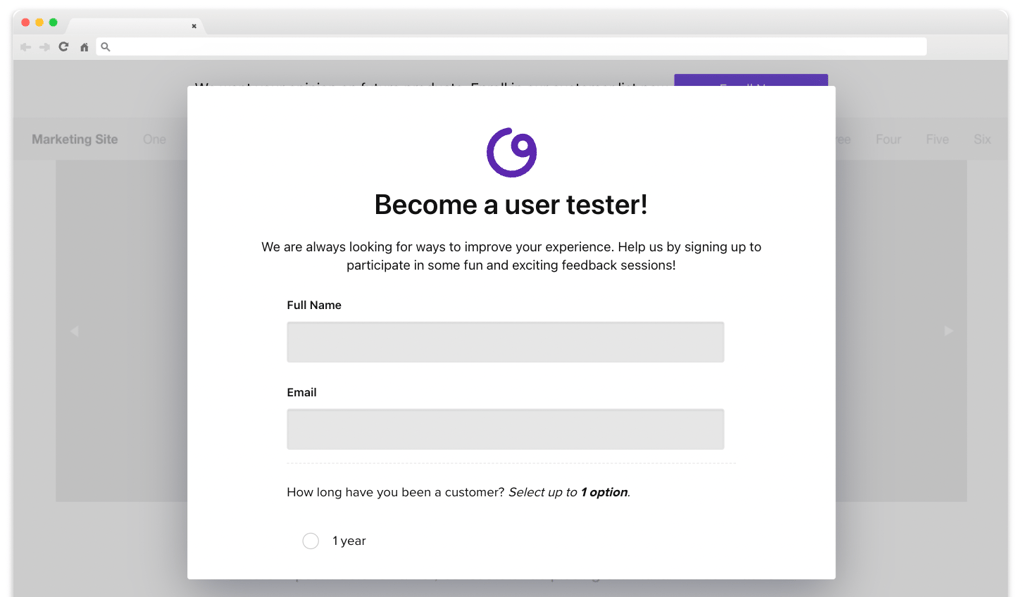
Learn more about using Screeners to recruit an audience of your own participants!
Send Surveys to Your List
When you send a survey to your uploaded list of participants, you are able to customize the email that carries the survey link.
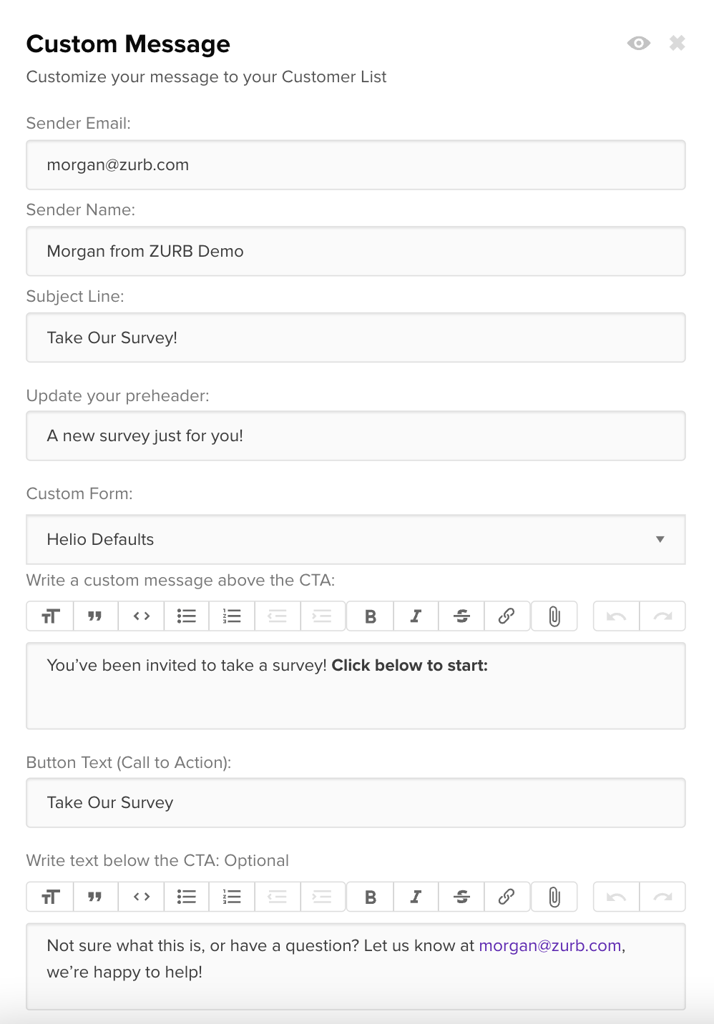
There are several parts of the survey email that can be customized for a more personalized effect. The following fields can be edited:
- sender email – the email that will appear as the sender in participants’ email inbox. If you need to ensure that your survey emails are coming directly from your company’s email domain, follow our steps to complete the DNS (domain name system) records upload process.
- sender name – the name that will appear as the sender in participants’ email inbox
- subject line – first text participants will read about the email in their email inbox
- preheader – the text revealed after the subject line in participants’ email inbox
- custom form – the brand styles you would like to be seen in the email
- message above CTA – this is the body of your email where the context and the ask will be provided
- CTA – the button participants click to enter the survey
- text below CTA – help message for participants to ask questions or opt-out
Once you have entered your custom information, you can review the survey order on the next page and then send to your participants.