
The Ultimate Guide to Creating Figma Mockups
![]() Helio Editorial Team . 5 min read
Helio Editorial Team . 5 min read
Figma has quickly become one of the most popular design tools, and for good reason. Its intuitive interface and powerful features offer designers a seamless experience for creating stunning mockups and prototypes.
🔩 The Nuts and Bolts:
- Real-Time Collaboration Enhances Design Efficiency: Utilizing Figma mockup allows multiple designers to collaborate in real time, streamlining the design process and enhancing project outcomes through immediate feedback and iteration.
- Advanced Vector Tools for Precise Mockups: Figma’s powerful vector editing capabilities enable designers to create detailed and scalable graphics, essential for high-quality mockups that require precision and flexibility.
- Seamless Integration Across Devices: As a cloud-based platform, Figma ensures that mockups are accessible from any device, enhancing flexibility for designers to work from anywhere without compatibility issues.
- Comprehensive Asset Libraries Speed Up Design: Figma’s extensive libraries of icons, components, and design templates allow designers to quickly incorporate sophisticated elements into their mockups, saving time and maintaining consistency across projects.
- Interactive Prototyping Within Mockups: Figma enables designers to create interactive prototypes within the same environment, making testing and iterating designs based on realistic user interactions easier.
- Versatile Design Features Meet Diverse Needs: Whether designing logos, user interfaces, or complex illustrations, Figma’s versatile design tools cater to a broad spectrum of creative needs, enabling robust mockup creation.
- Community and Support Foster Skill Development: Figma’s vibrant community and comprehensive support resources empower designers to continually enhance their skills and stay updated with the latest design trends and techniques.
Understanding the Basics of Figma
If you’re new to Figma, let’s start by answering the following question: What exactly is Figma? In simplest terms, Figma is a cloud-based design tool that allows you to create and collaborate on designs in real time. Unlike traditional design software, Figma runs entirely in your web browser, eliminating the need for downloads or installations.
Now that you know what Figma is let’s delve into its key features. One standout feature is the ability to collaborate in real-time with other designers, making it a great tool for teams. Multiple designers can work on the same project simultaneously, making it easy to share ideas, provide feedback, and make changes on the fly. This collaborative approach fosters a more efficient and streamlined design process, saving time and ensuring everyone is on the same page.
Additionally, Figma offers a versatile set of design tools catering to various design needs. One of the most potent tools in Figma is its vector editing tool. This tool allows you to create and manipulate scalable vector graphics, giving you the flexibility to create intricate and detailed designs. Whether designing logos, illustrations, or user interfaces, the vector editing tool in Figma provides you with the precision and control you need.
In addition to the vector editing tool, Figma also provides various shape and text tools. These tools allow you to create and customize shapes and text elements, giving you the freedom to create unique and visually appealing designs. Whether you’re creating buttons, icons, or typography, Figma’s shape and text tools provide the tools required to bring your ideas to life.
Furthermore, Figma offers an extensive library of icons and components. This library contains many pre-designed elements you can use in your designs. From buttons and navigation bars to icons and illustrations, the library provides vast resources to help you speed up your design process and maintain consistency across your designs.
Before we dive into the nitty-gritty, you’ll need to set up your Figma account. It’s a straightforward process – simply visit the Figma website, click the “Sign Up” button, and follow the on-screen instructions. Once you’ve created your account, you can explore the Figma interface.
Upon logging in to Figma, you’ll be greeted with a clean and intuitive interface. The interface is designed to be user-friendly, emphasizing simplicity and ease of use. The main workspace is where you’ll do most of your design work. Here, you can create new design files, open existing files, and organize your designs into projects and folders.
At the top of the interface, you’ll find the main toolbar. This toolbar contains all the essential tools and functions for creating and editing your designs. From selecting and manipulating objects to applying styles and effects, the toolbar provides quick and easy access to all the necessary design tools.
The layers panel is on the left side of the interface. This panel displays the hierarchical structure of your design, allowing you to navigate and organize your design elements easily. You can group objects, rename layers, and adjust the stacking order of your design elements directly from the layers panel.
You’ll find the properties panel on the right side of the interface. This panel displays the properties and attributes of the selected object. Here, you can adjust your design elements’ size, position, color, and other properties. The properties panel also allows you to apply effects, such as shadows and gradients, to enhance the visual appeal of your designs.
Lastly, you’ll find the prototype panel at the bottom of the interface. This panel allows you to create interactive prototypes of your designs. You can define links and interactions between artboards, creating a realistic and interactive user experience. The prototype panel also lets you preview and test your prototypes, ensuring that your designs are visually appealing and functional.
You can start exploring and experimenting with the tool with a basic understanding of Figma’s key features and interface. Whether you are a beginner or an experienced designer, Figma offers a powerful and versatile platform to help you bring your design ideas to life.
Make your design decisions count.
Subscribe to Design Under Pressure. Get insights, UX metrics, and tools for bold, informed design.
We respect your inbox. Just insights. No fluff. Privacy Policy.
Navigating the Figma Interface
When you first launch Figma, you’ll be greeted by the dashboard. This is where you’ll find all your projects neatly organized. From here, you can easily create new projects or access existing ones.
The dashboard is designed to help you stay organized and efficient. It provides a clear overview of all your projects, allowing you to locate and open the one you need quickly. You can also create folders to organize your projects further, making it easier to find specific designs in the future.
Once you’ve selected a project, you’ll enter Figma’s main interface. At the top of the interface, you’ll find the toolbar, which houses all the essential tools you need to create your mockups. The taskbar is carefully designed to make it easy to access commonly used features, such as selecting objects, drawing shapes, and applying text styles.
It’s worth spending some time familiarizing yourself with the different options available in the toolbar. Each tool has unique functionality, and understanding how to use them effectively will significantly enhance your design process. Whether you’re a beginner or an experienced designer, exploring and experimenting with the toolbar will help you unleash your creativity.
As you move towards the left side of the interface, you’ll encounter the design panel. This panel is where you’ll spend most of your time working on your designs. It provides a comprehensive set of tools and features to manipulate your designs, ensuring you have complete control over every element.
The design panel is divided into sections, each serving a specific purpose. One of the most important sections is the layers panel, which allows you to manage and organize the different layers of your design. Layers are like transparent sheets stacked on each other, playing a crucial role in creating complex and visually appealing designs.
In addition to the layers panel, the design panel includes sections for managing styles, effects, and other design elements. These sections provide a centralized location to apply consistent styles and effects throughout your design, ensuring a cohesive and professional look.
Take a moment to explore the design panel and get comfortable with its layout. Familiarize yourself with the different sections and their functionalities. By doing so, you’ll be able to navigate through Figma quickly and efficiently, allowing you to focus on bringing your design ideas to life.
Starting Your First Figma Mockup
Now that you understand the Figma interface well, it’s time to create your first mockup. Click the “Create New” button in the dashboard to get started. This will open a new project ready for you to add your designs.
Choosing the right frames is crucial for organizing your designs effectively. Frames act as containers for your content and help maintain a logical structure. Take some time to plan out your design and think about how you want to organize your elements.
Once you’ve set up your frames, it’s time to add and manipulate shapes. Figma offers various tools for creating and editing shapes, such as rectangles, circles, and polygons. Experiment with different shapes and explore the myriad customization options available to you.
When creating your first mockup, it’s essential to consider the user experience. Think about how your design will guide users through the interface and make it intuitive for them to achieve their goals. Consider the flow of information and how different elements will interact.
Typography plays a crucial role in any design, so take the time to choose the right fonts for your mockup. Figma provides various font options, allowing you to experiment with different styles and sizes. Consider the readability of your text and how it complements the overall aesthetic of your design.
Color is another crucial aspect to consider when creating your mockup. Figma offers a range of color options, allowing you to choose from various palettes or create your own. Consider the emotions and associations different colors evoke and how they can enhance the user experience.
Adding icons and illustrations can bring your mockup to life. Figma provides a library of icons and photographs to incorporate easily into your design. Consider the purpose of each icon or illustration and how it contributes to the overall visual storytelling of your mockup.
Collaboration is a crucial feature of Figma, so don’t hesitate to invite others to contribute to your mockup. You can easily share your project with team members or clients, allowing them to provide feedback and suggestions. Collaboration can significantly enhance the quality of your design and lead to more innovative solutions.
Remember to save your progress regularly as you work on your mockup. Figma automatically saves your changes, but it’s always a good idea to manually save your project to ensure you don’t lose critical updates. Additionally, consider creating different versions of your mockup to explore various design possibilities.
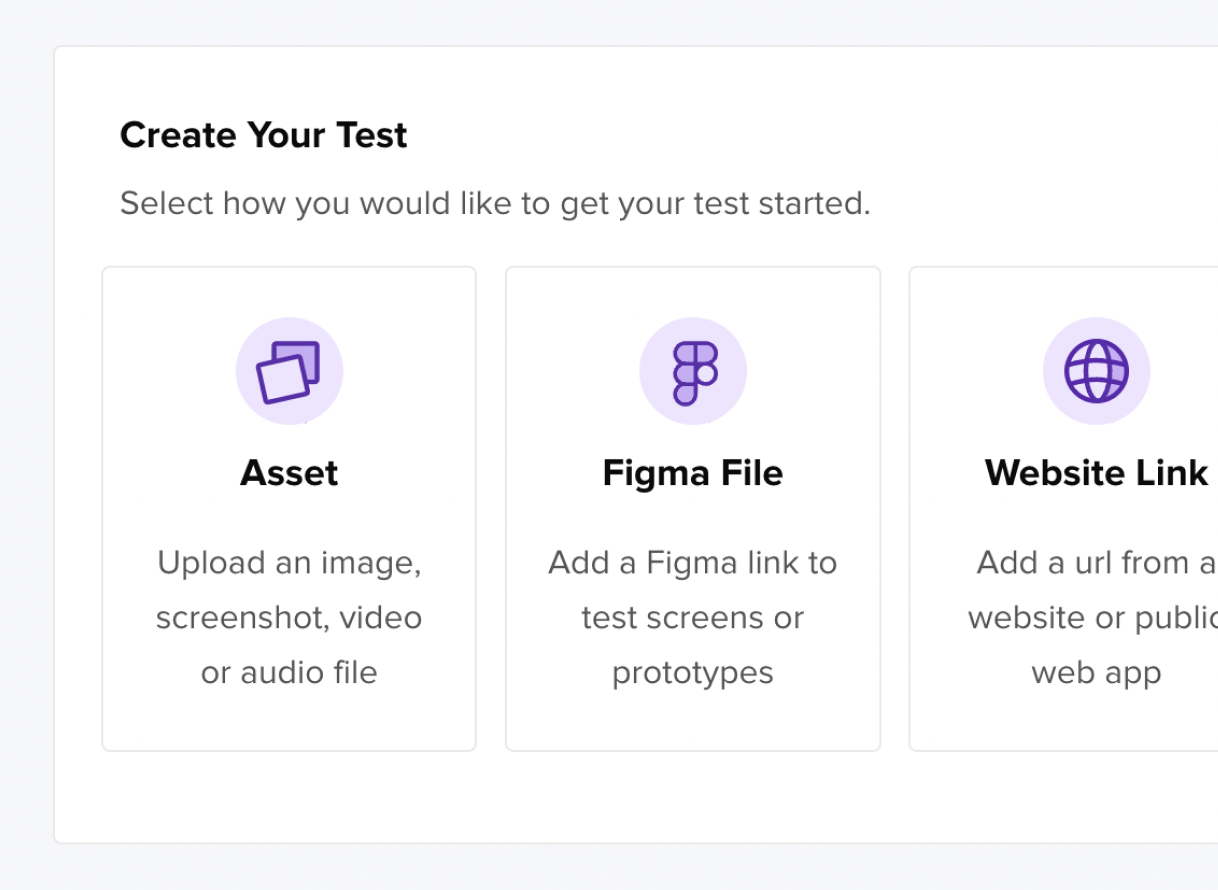
🚀 If you’re using Helio
Test your Figma screens or prototypes.
Consider creating different versions of your mockup to explore various design possibilities.
Advanced Figma Techniques
Now that you’re comfortable with the basics of Figma let’s explore some advanced techniques that will take your mockups to the next level.
One powerful feature of Figma is its layer system. Layers allow you to organize and structure your designs hierarchically, making it easy to keep track of different elements. Take advantage of this feature by naming your layers and grouping related items.
Another helpful tool in Figma is the Pen tool. This allows you to create custom shapes and paths, giving you complete control over your designs. Spend some time practicing with the Pen tool to master its intricacies.
Lastly, remember the effects and styles available in Figma. Applying effects like drop shadows or gradients can add depth and richness to your designs. Similarly, predefined styles can help maintain consistency and save you time in the long run.
In conclusion, Figma is a powerful design tool that offers a seamless experience for creating mockups and prototypes. By understanding the basics, navigating the interface, and utilizing advanced techniques, you’ll be well on your way to creating stunning mockups. So, don’t hesitate—dive in and start building today!
Figma Mockup FAQs
A Figma mockup is a detailed visual model created in Figma that represents how a final design will appear. Designers use mockups for prototyping, sharing, and testing ideas before final implementation, ensuring the design meets aesthetic and functional requirements.
Real-time collaboration in Figma allows multiple team members to work on the same mockup simultaneously from different locations, providing instant feedback and enabling quick iterations. This functionality increases efficiency and improves the design process by incorporating diverse insights.
Figma stands out due to its cloud-based platform, which enables seamless updates and access from any device. It also has robust collaboration features that allow teams to work together in real time. Additionally, its user-friendly interface and extensive range of design tools make it accessible to both beginners and experienced designers.
Figma mockups can be integrated with various other tools and platforms, such as Sketch for initial design imports or Zeplin and Avocode for developer handoffs, streamlining the workflow from design to development.
Best practices include using consistent naming conventions for layers and assets, leveraging Figma’s libraries for efficiency, regularly saving and versioning work, and utilizing Figma’s prototyping features to test interactivity within the mockup.
Figma ensures security by allowing designers to set detailed permission levels for different stakeholders, and its cloud-based nature ensures mockups are accessible from any device with internet access, provided the user has the appropriate permissions.
Figma provides a wealth of resources, including tutorials, community forums, and professional courses that cover everything from basic functionalities to advanced techniques for mockup creation. Engaging with the community can also provide practical insights and peer support.